fbpx

GoPiGo OS Installation Guide

Download the latest GoPiGo OS.

⚠️ Before you begin, download the latest version of the GoPiGo OS software. ⚠️

01 – Get the Raspberry Pi Imager

The easiest way to install GoPiGo OS on your MicroSD card is to use the Raspberry Pi Imager. It is a free piece of software from the Raspberry Pi Foundation.

Raspberry Pi Imager Software from the Raspberry Pi Foundation.

02 – Install the Raspberry Pi Imager

Once the file download completes, install it on your computer. 

Install the application on your computer, just as you would with any other piece of software.

03 – Select the GoPiGo OS File

After opening the application you will see a screen that looks like this:

Raspberry Pi Imager - default starting screen

In the “Operating System” window, select the GoPiGo OS software file. (.zip)

You may have to scroll down and select “Custom OS”.

In the first section : Choose OS : select the GoPiGo OS software file you downloaded in the first step.

04 – Select SD and Write

If you haven’t already – connect your MicroSD Card to your computer. 

Contact support - email support@modrobotics.com

Next, select the SD card from the pop-up window. 

Select the SD card from the pop-up-window

Next, click the “Write” button to begin the transfer.

Click the Write Button to begin the transfer.

05 – Install SD Card & Power On

Safely remove your MicroSD card from your computer and insert it into the MicroSD card slot on the bottom of your Raspberry Pi at the back of your robot. The MicroSD card will only work in one orientation.

*You do NOT need to disassemble your robot, but you will likely need to disconnect one motor cable. Remember to reconnect this cable when ready to continue.

Insert microSD card into Raspberry Pi - only one orientation works.

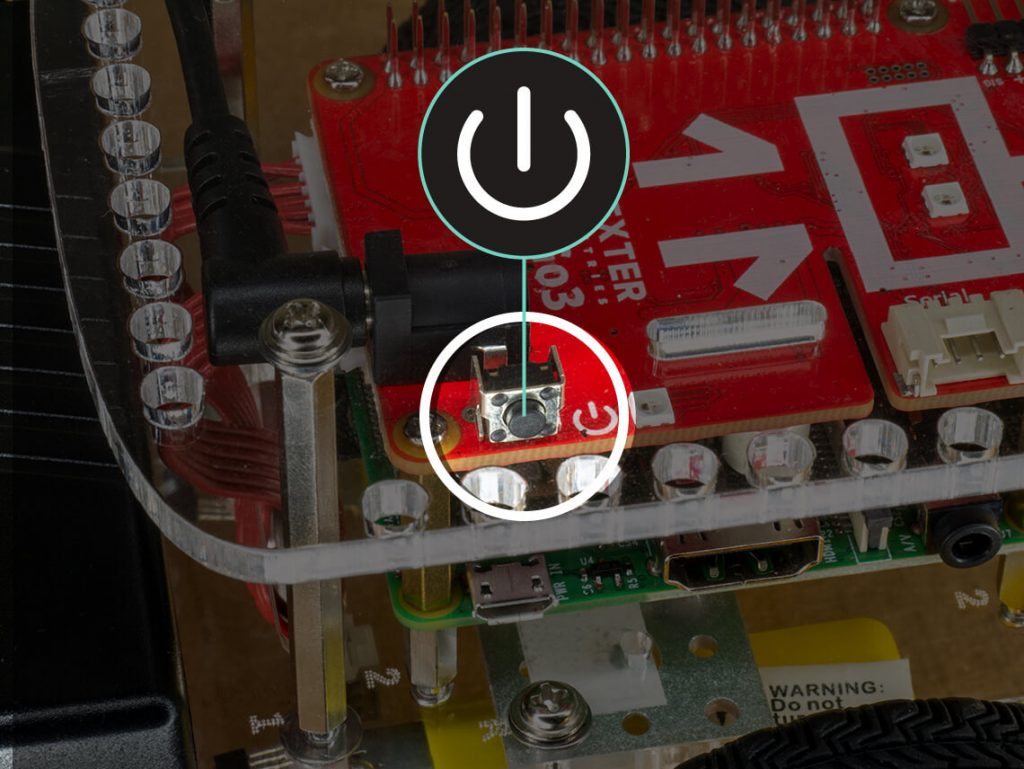
Power on your robot using the power switch near the back of the robot. Remember to power on your Rechargeable Battery too!

Booting up GoPiGo OS for the first time will take a little bit of time. The robot needs to configure a few things when it first powers on, and that includes a couple of reboots.

You will notice the antenna LED turn green, and a few seconds later it will turn off and the power LED will start blinking again. This is normal behavior. The robot will finish rebooting and you will be able to connect to it the second time the antenna LED shows up green.

The GoPiGo power button is located near the battery power cable board on the red electronic board.

Finally, connect to your robot’s wifi network and navigate to mygopigo.com. 

If you’d like to learn more about pairing, visit the pairing support page.

GoPiGo Pairing Instructions - Select GoPiGo wifi network - then go to mygopigo.com in a web browser.