fbpx

Getting Started Guide

GoPiGo robot with distance sensor

Prepare the Robot

Section Goal

In this section, you will attach the posts that will support the Raspberry Pi  and  the canopy for your robot. 

Goal for part 2 - all 8 posts installed on acrylic body.

Prep for the Raspberry Pi

Parts

From the Controller Hardware Bag:

Steps

Find the 4 holes that make a square in the middle of the acrylic.

These holes are labeled with a “2” on the acrylic body.

Start by locating the holes marked with the number "2"
For short posts - insert a small screw through the acrylic and thread a short post onto the end.

Place the screws up from the bottom of the acrylic, then attach the four short silver posts to the top of the acrylic. 

Hand tighten the posts.

Prep for the Acrylic Canopy

Parts

From the Acrylic Hardware Bag:

Steps

With the brackets still touching your building surface, find the four holes for the canopy support posts.  They will be labeled “1” on the GoPiGo3 acrylic body. 

Holes marked with number 1 on acrylic body.
Assembly of the posts and the acrylic body: Image shows a screw threading through a washer, then the acrylic body into a post. Hand tighten.

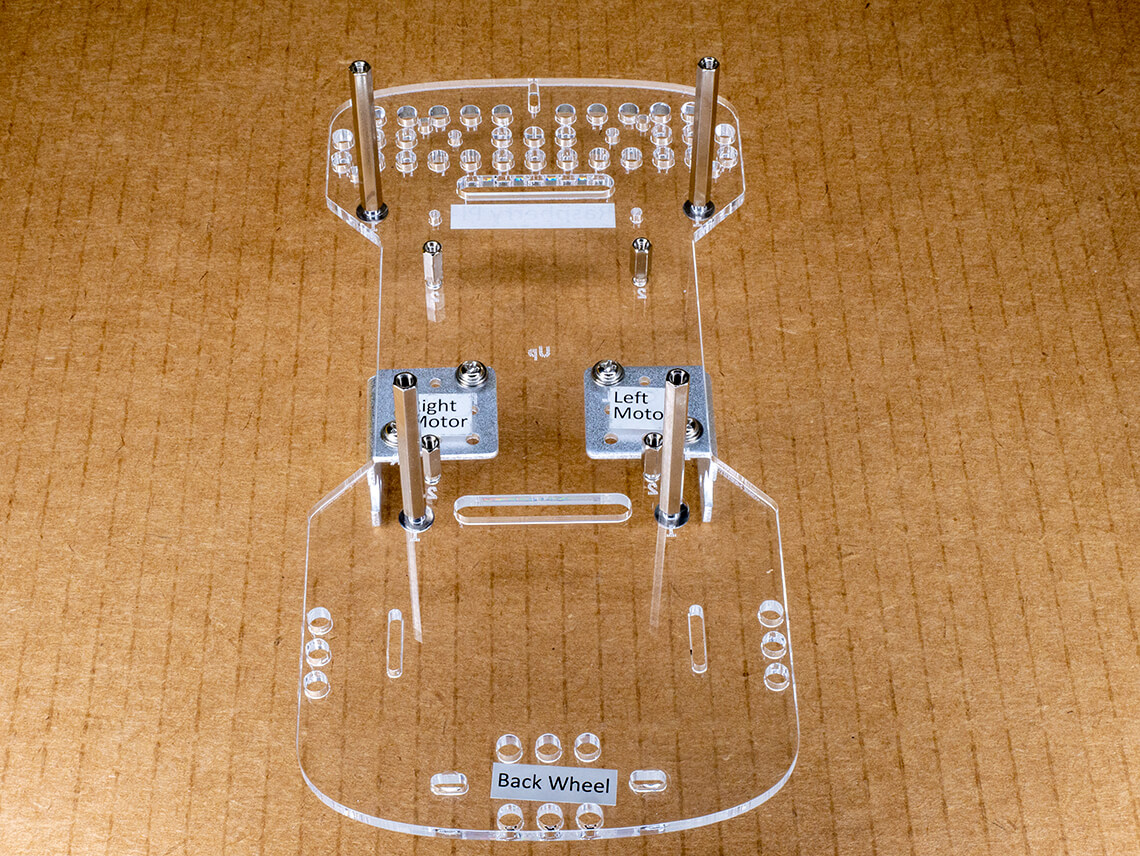
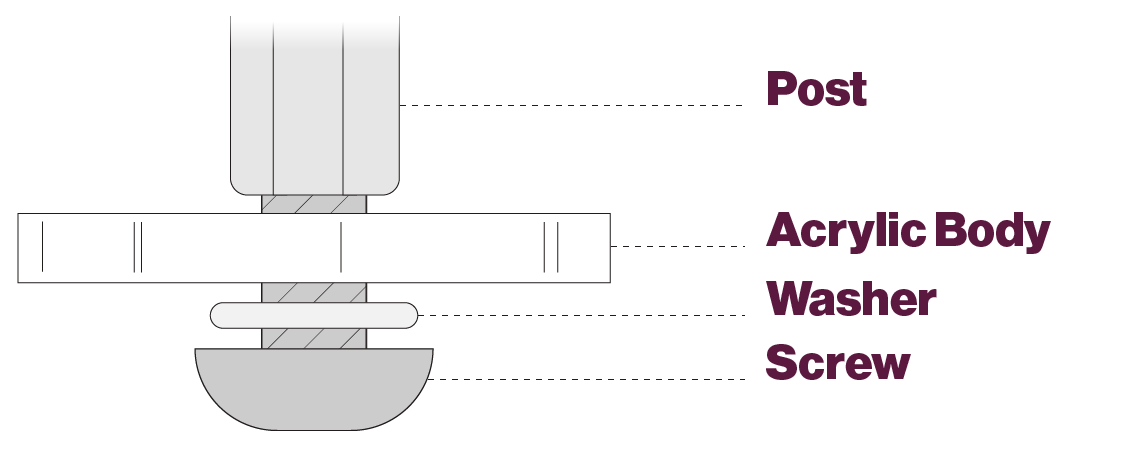
Slide washers onto the four short screws.

Insert the screws (with washers on them) up from the bottom of the board, then attach the four long silver posts to the top of the acrylic.

Tighten the posts until the washers flatten. You may need to use the screwdriver for this step.

Goal for part 2 - all 8 posts installed on acrylic body.