fbpx

Getting Started Guide

GoPiGo robot with distance sensor

Final Touches

Section Goal

In this section you will connect the motor cables to the GoPiGo Red Board, attach the canopy, and hook up the rechargeable battery pack.

Attach the Motor Cables to Board

Steps

Connect the motor cables to the GoPiGo3 Board. 

The cables can only be oriented in one direction. 

The connectors need to be pushed in fully.

Connect the motor cables to the red electronic board- only one orientation will work.

It is very important to ensure that the right motor is connected to the right motor port on the board, and the left motor to the left motor port on the board.

Connect left motor to the port on the left side. Connect the right motor to the port on the right side.

Attach the Canopy

Parts

From the Acrylic Hardware Bag:

Steps

Place one washer on each screw.

Gently set the acrylic canopy on top of the four tall silver posts.

There is a small slot cutout on the acrylic for a camera that should be towards the front of the GoPiGo, and the two battery pack slot cutouts should face towards the back. 

Canopy acrylic has a small rectangular hole at the front. Place this hole near the front of the robot and look for the alignment holes that should meet the tops of the tall silver posts.

Secure the acrylic canopy in place with the screws.

Canopy secured with 4 screws.

Attach the Battery Pack

Parts

From the Battery Box:

Steps

Thread the velcro strap through the battery strap cutouts on the acrylic body. 

There are two locations you can put the battery pack: 

  1. in the very back near the caster wheel, or 
  2. the top canopy location provides more traction for use on carpets or slippery floors.
Battery cable plugs into small black cylinder near the power button on the red board.

Plug the battery cable into the black power port of the red board (next to the power button).

Battery Mounted on back of robot, secured with velcro strap.

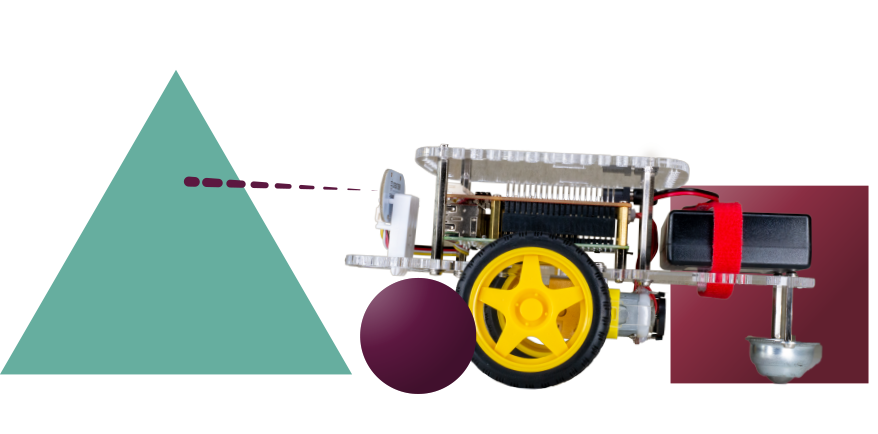
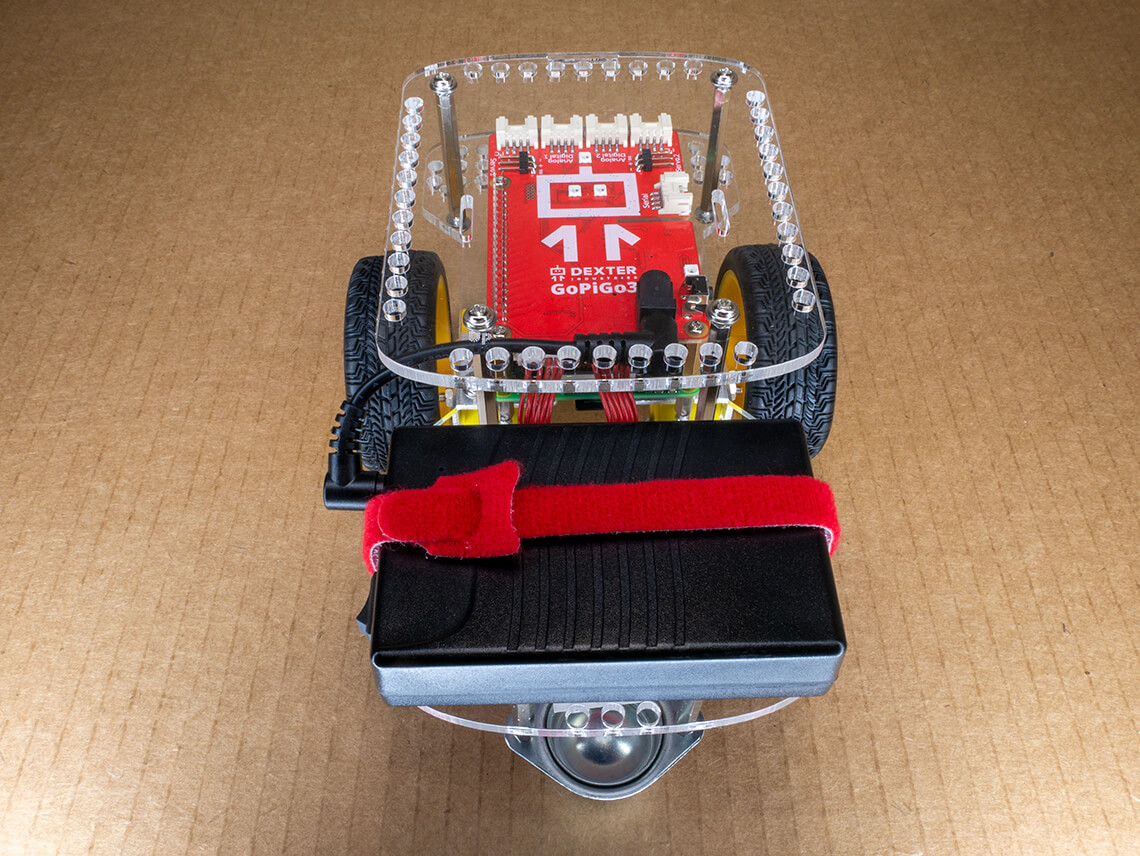
Gently rest the battery pack on your robot. 

Secure the battery pack to your robot with the red battery strap.

*Notice the power switch on the battery. The battery will need to be on before starting the robot. However, the robot should be turned off before turning off the battery. 

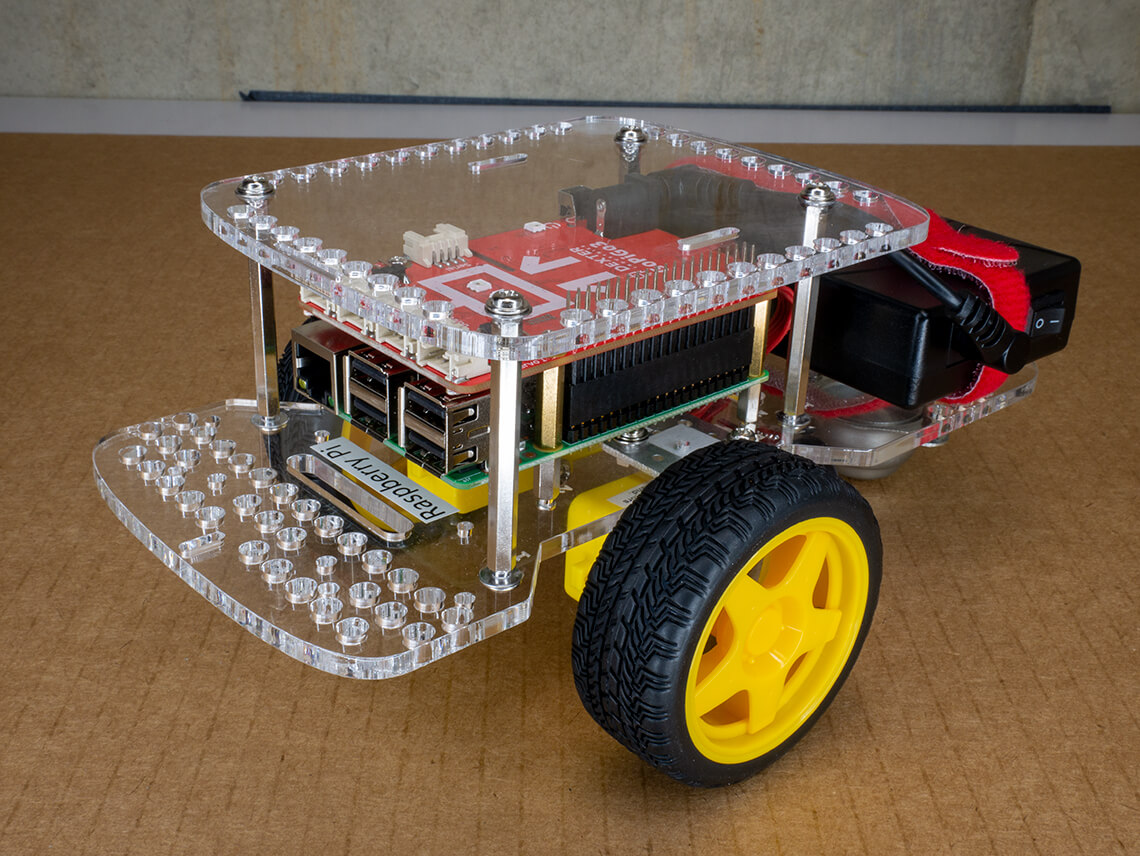
Your robot is ready to program! Learn how to launch DexterOS and Raspbian for Robots here

Complete robot